Git CLI Basics - branching & stashing!
Table of Contents
Smol Objective: Exploring branching, checkout’s, and stashing!
Via: creating a new local branch to save recent experimental changes on, publishing the branch to a remote Github repository, and then switching back to the functional, remote main branch locally. Oh, and stashing changes as I switch between the two to compare.
- Branching & Checkouts
# Check the current status (ensure connected to remote origin)
git status
# checkout - create (argument -b) and switch to a new branch.
git checkout -b branch-name
# Stage all changes at the HEAD of this new branch (or select specific files/changes by specifying them, instead of '.')
git add .
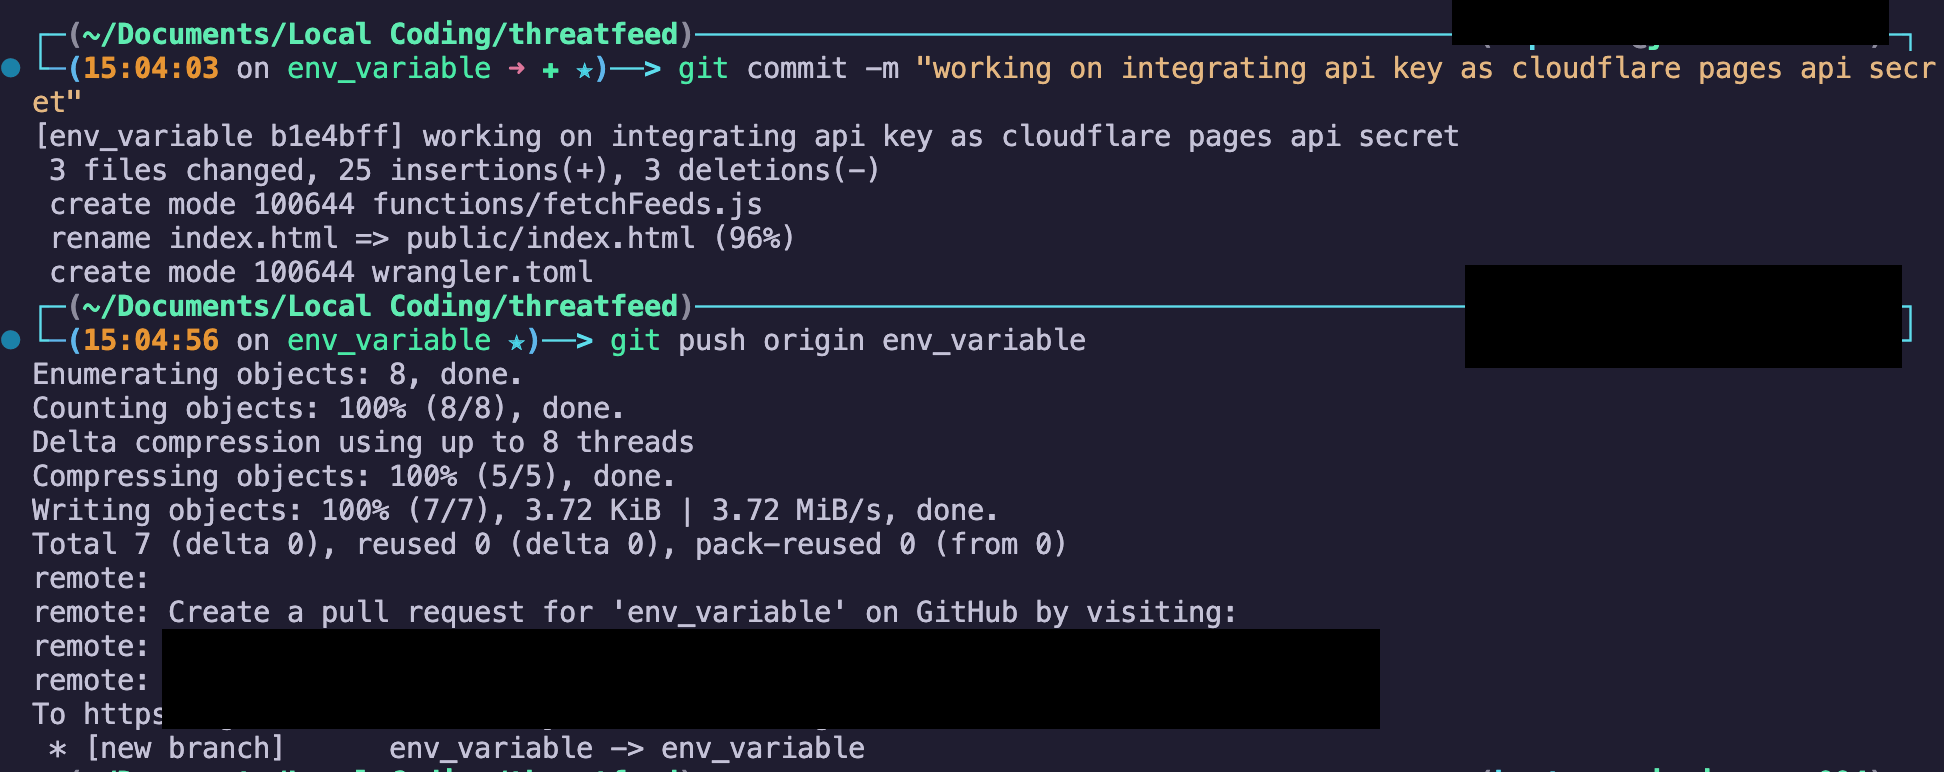
# Commit changes
git commit -m "Describe changes here"
# Publish changes to upstream branch on Github
git push origin branch-name
- in the wild:
To switch back to the remote main branch locally (which will also change your working file tree in VSCode to match what’s on main), use:
# Switch back to the main branch
git checkout main

# Verify you're on the main branch
git branch
# or
git status
- Stashing
To briefly save your working changes, you can “stash” them. Useful when you’re switching between branches or pulling from a remote repository, and don’t want to commit your current changes yet.
## saves your modified tracked files and reverts the working directory to match the HEAD commit (a pointer indicating the current commit your directory is based on).
git stash

## stashing, with a message:
git stash save "message here"

## list current stashes with:
git stash list

## apply them to your current working directory with:
git stash apply stash@{index}

## "pop" them - aka, apply the stash & then remove it from the list
git stash pop

## "drop" them - aka, remove them from the stash list
git stash drop stash@{index}

## clears all stashed changes
git stash clear